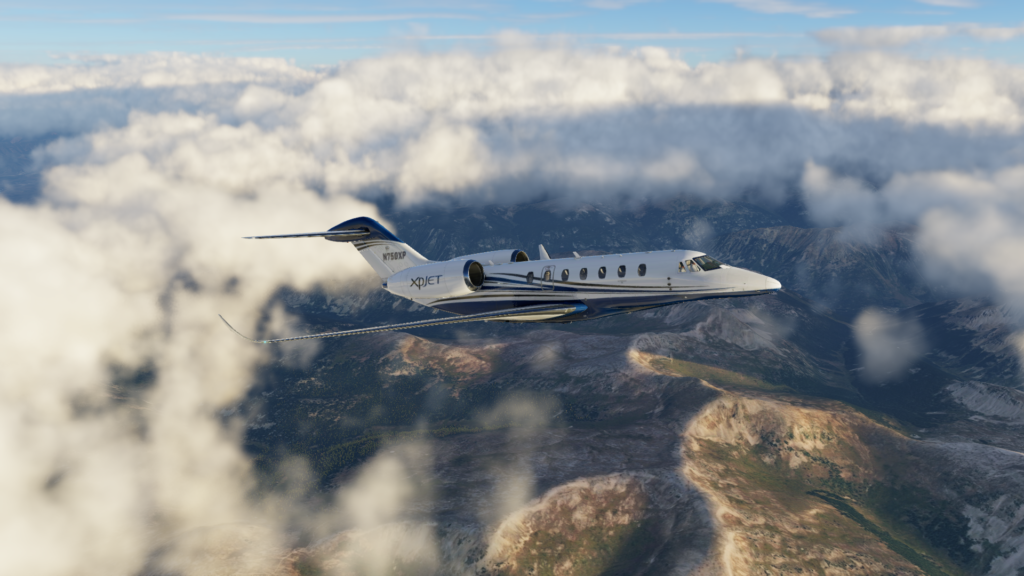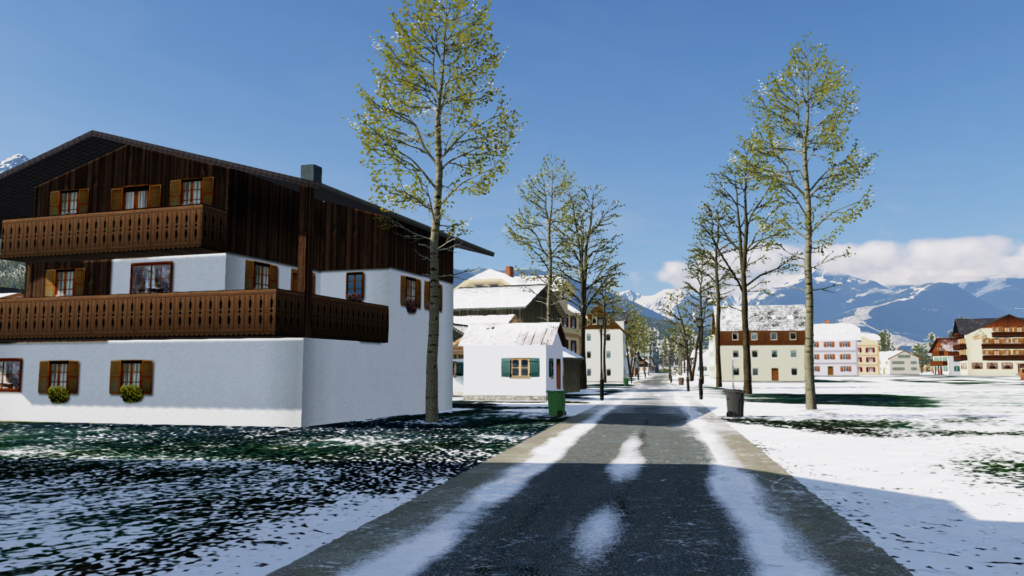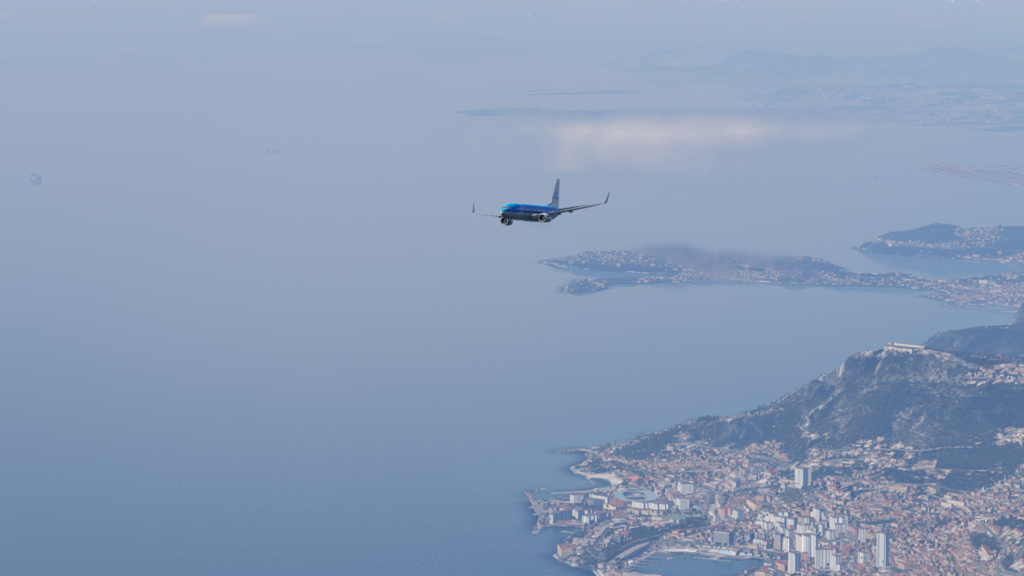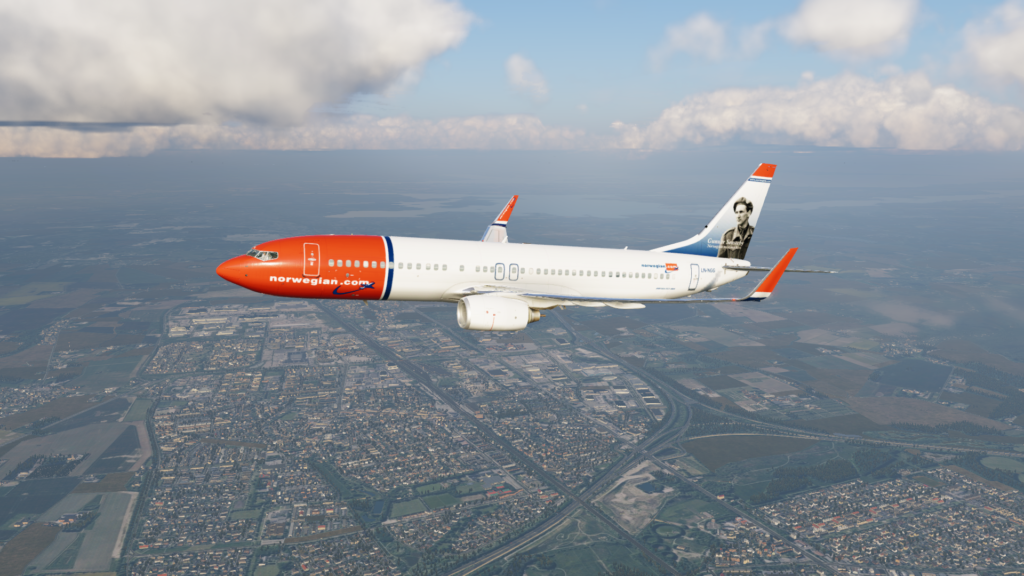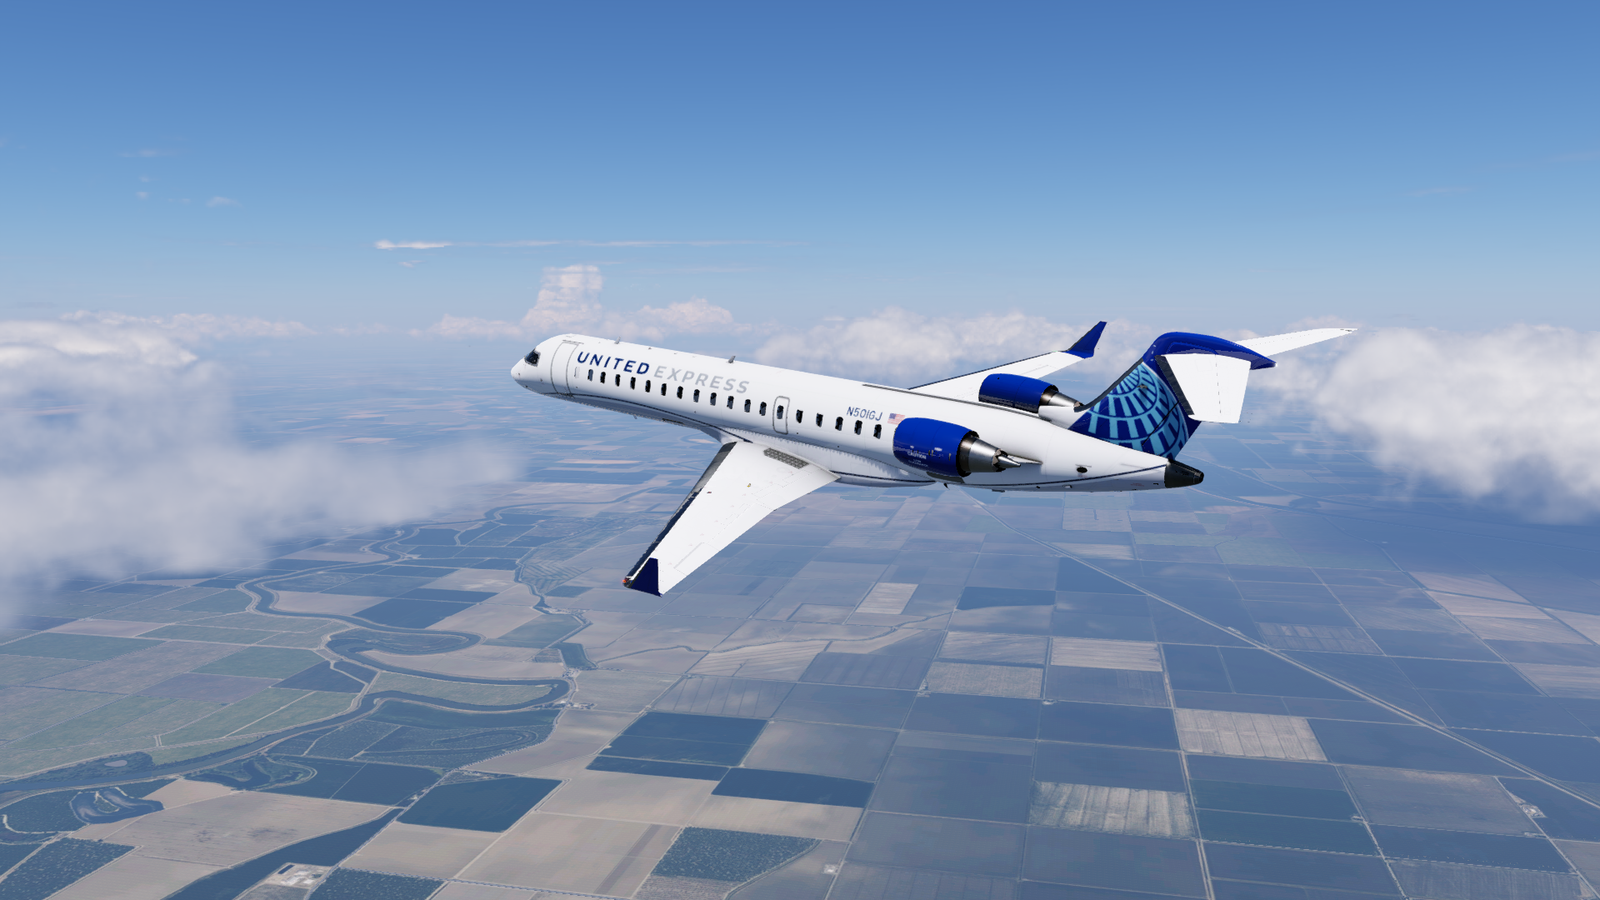
When you boot in to X-Plane 12 for the first time, eager to hone your flying skills and become a better pilot, you can see all of the extremely well-modeled flight systems and avonics and custom airports but immediately realize a MAJOR shortcoming: since X-Plane can’t stream satellite scenery like other flight simulators can (MSFS and Aerofly), then nothing can be used for VFR training or sightseeing. In my X-Plane 12 setup I have fixed this issue by using X-Plane Map Enhancement (XPME) and Simheaven X-World Pro. By the end of this post, you should not only have far better scenery for your X-Plane 12 setup, but have a much increased knowledge of how the simulator actually works and know how to navigate complex files well.
Step One: Download
In order to download the files necessary for the scenery upgrades,
Click HERE for XPME download info (there is a paid tier that can be unlocked for higher-res scenery, but mine’s just regular and is already great)
And HERE for X-World Pro purchase & download info
When getting XPME, it is important to download the link for your OS (Windows, Mac, Linux). If your version ever stops working or says something about being blacklisted, just update to the newest version. I’ve been through that and updating always fixes things. For the Mac and Linux users out there, the latest version may not always be available, as XPME is primarily a Windows application with only recent Mac and Linux support. Once the application for XPME is successfully installed, navigate to its Base Package Downloader to download the scenery you want to fly over. You will also have to configure the directory where you want the scenery to go, and I’d just pick the default one.
When getting X-World Pro, simply purchase and download the area(s) you want to fly in. It automatically works with any operating system.
Step Two: Configuration
Once everything is downloaded to your computer, extract the X-World Pro zip file and you will find a folder labeled something like “Simheaven X-World Pro – Europe” (or whatever part of the world you downloaded). Now DON’T put this directly into the X-Plane Custom Scenery folder! Click on the X-World folder instead and you will find a massive amount of subfolders. DO move these subfolders into the X-Plane Custom Scenery folder! Now, you will be set for the final (and in my experience most annoying) part of the whole process.
Step Three: The .ini File
Now that everything is downloaded and in the right place, you may be tempted to just hop on to X-Plane and enjoy your scenery. That will not happen unless you do the following:
- Open XPME AND THEN open X-Plane 12 and get to the menu screen where you can pick Resume Last Flight, New Flight, etc.
- Quit X-Plane 12 and XPME and then head to the X-Plane custom scenery folder
- Find the “scenery_packs.ini” file and open it in a text editor
- Cut (Ctrl+x for Windows/Linux and Command+x for Mac) everything that says “XPME” and “simHeaven” from wherever they are in the doc, with all of the “simHeaven” files going below “GLOBAL_AIRPORTS” and above “Custom Scenery/ X-Plane Landmarks” while the XPME files go at the very bottom *Note: Do not leave empty spaces between anything. Just one file in one line, the next in the next line, etc.*. Now save the .ini file by hitting Ctrl+s (or Command+s for Mac).
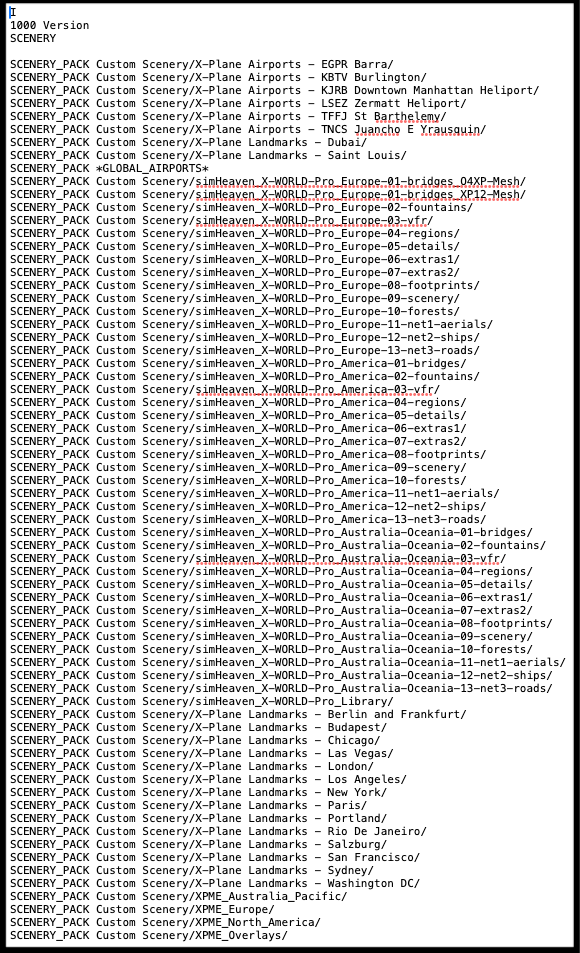
5. Close these files and open XPME first, followed by XP12.
6. Enjoy Your New Scenery!